
A Step-By-Step Guide to Creating a Framed Print Wall

Let’s be honest, staring at a blank wall is worse than watching paint dry. At Swyft, we enjoy minimalist interior design; we’ve been advocating it for years. But a blank wall is one step too far. It’s too minimalist; too plain. It’s uninspiring, cold, and damn right boring.
A blank wall is an open invitation to curate a beautiful framed print wall that’s bursting with pops of colour, personality, and style; a montage of creativity. We’ll admit, creating an art print wall is easier said than done. That’s why, we’ve come up with an extensive step-by-step guide on how to create the perfect framed print wall for your blank space.
Where should I hang a framed print wall?
Before we jump into the step-by-step guide it’s important to understand where you should hang a framed print gallery wall in the home.
A framed print wall can be placed anywhere in the home, as long as there is a blank wall. The most common areas to do this are in the hallway, living room, dining room, or bedroom. There isn’t a one-rule-fits-all approach.
Hallways are ideal for gallery walls because they often contain a large amount of space; space that doesn’t obstruct traffic flow. A living room with a featured gallery wall is guaranteed to add personality. A living room is made for relaxing, so it should be full of personal items – it’s the perfect place for a framed print wall.
A dining room, however, can be perfect for a more formal print wall because the room is usually used for formal settings. A bedroom is an intimate, personal space to unwind and rest; a gallery wall in a bedroom can be a space for personal photography prints or minimalist, relaxing art prints that evoke relaxation.
Step 1: Select the prints
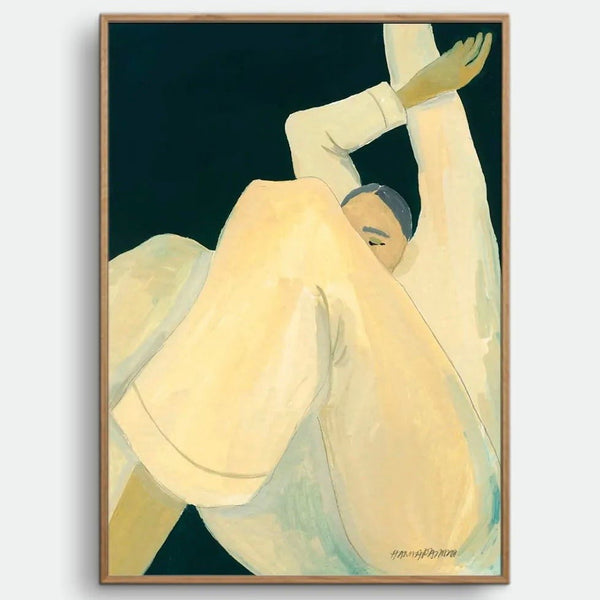
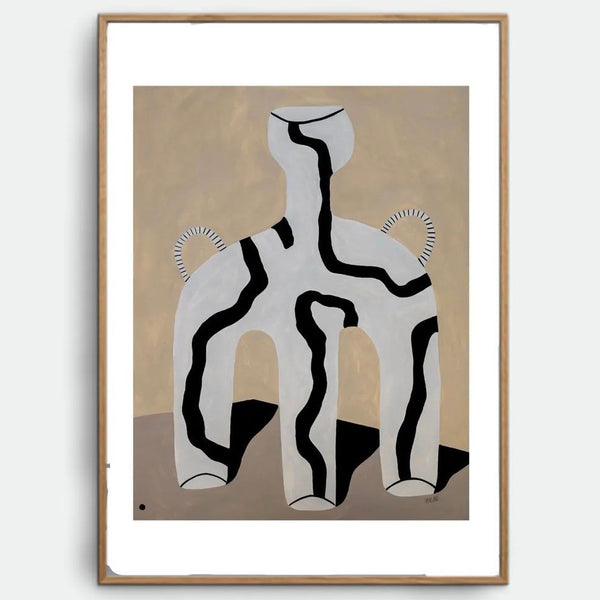
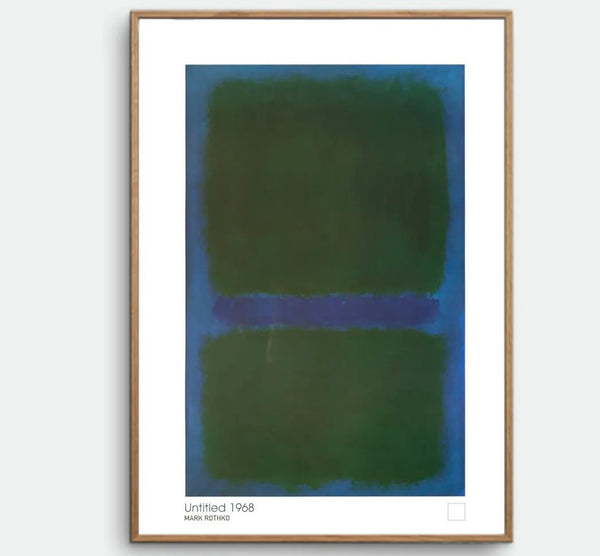
The first obvious step is to select the art prints and photography you want to display. Think about the theme and interior style you want to reflect on the print wall. Make sure it echoes personality and has sentimental value. To guarantee a statement wall with a dynamic and unique look mix the size of the prints and the frames used. Consider adding a mix of prints too; from photography and nature prints to portraits, abstract art, like Swyft’s collection of artwork, or geometric print patterns. You must get this step right to guarantee your framed prints gallery wall suits your personality and interior style.
Step 2: Choose the frames
If you’ve chosen wisely (aka Swyft’s collection of Framed Prints) then your art prints will be delivered with wooden frames, so they are ready to hang. However, everyone’s styles are different, so you might want to choose frames yourself that better fit the aesthetic of a room.
When choosing frames make sure the interior design elements of the room are tied to colours, material, and texture of the frames. For example, make sure the frames complement the room’s accessories; rugs, cushions, or throws. Create interest and personality by picking frames that are different. The frames should pair nicely but don’t necessarily need to match. By not matching you create a dynamic framed print wall, which boosts the unique personality of each print.
Step 3: Create a flat lay of the frames
To help with the arrangement, the best thing to do before hanging the frames on the wall is to place them on the floor. By doing this, you can create different configurations that will help understand the look and feel of the wall. Play around with mixing the sizes of the prints and, for cohesion, make sure there’s even spacing between the frames. Usually, we’d recommend 2-3 inches between frames, but this depends on the size of your space, the number of frames you want to hang, and the size of each frame.
Step 4: Measure your blank wall
Measure the space on the wall where you intend to hang the framed prints. Check the measurements with your flat lay on the floor to double-check that they match. If they don't match then rearrange the frames on the flat lay so they fit within the parameters of the space on the wall.
Step 5: Hang the frames
When it comes to hanging the framed prints, start with the largest frame or the one you want to hang in the centre. It’s best to create the gallery wall by working your way out from the largest or most centred frame. To make sure each framed print is straight, use a level. Depending on the desired look and feel of the print gallery wall, you can either stagger the frames for a casual, fun look or keep the frames aligned to create a clean, dynamic look.
The best way to hang frames securely is to use picture hangers or drywall anchors that can hold the weight of your framed prints. It’s worth noting that heavier frames might need two anchors or hangers to secure the frame in place and ensure it doesn’t buckle.
Museums and art galleries hang the centre of a framed piece 145 cm above floor level, it’s eye level for the average person. Although you don’t need to stick to that measurement, it’s one to keep in mind when you’re thinking about where to hang a framed print.
Step 6: Enjoy a glass of wine and admire your new gallery
A framed print gallery wall is a reflection of your style and personality. As soon as the print wall is finished, sit back and enjoy it, maybe with a bottle of wine. A gallery wall is a personal display, so it’s worth giving it the time to enjoy.
A framed print gallery wall is about telling your story – it doesn’t need to be a collection of photography prints, art prints, or artwork. It can contain sentimental letters, fabrics, and memorabilia. You could even break up the gallery wall with mirrors, shelves, clocks, hanging candles, etc. It’s a space in your home to be creative and create a collection of things that you love. Take your time and have fun with it, and remember that you can always change the framed prints at a later date. Nothing is permanent.


