
Upcycling: the ultimate guide to painting furniture
We asked Steph Briggs, co-founder of the award winning interior retailer La Di Da Interiors, to share her guide to painting furniture. She’s naturally talented at combining old with new which has earnt her the title of ‘The Queen of Upcycling’, so we couldn’t think of anyone better to share their expertise. Not only this, but Steph’s interior design work has also been featured in the Metro, The Daily Mirror, The Daily Express, The Daily Mail, The Lady, World Of Interiors, Your Home Style, House Beautiful, The Times and many more – we're in safe hands.
--
Paint is the easiest, most transformative way to change your interiors. By painting furniture, you can update and refresh your current furniture quickly and inexpensively. It’s a great way to revive older items which are often well made but aesthetically tired.
So, to give your furniture a new lease of life, here are my top tips on how to paint like a pro:
Decide on the look
Are you after an uber smooth flat modern finish? A layered rustic look? Faded grandeur with aged patina? Your home, personal style and style of furniture will dictate this, so once you’ve decided on the look, it's easier to select the right paint for the job.
For a smooth flat finish, an acrylic paint like Fusion Mineral Paint would work well. Or, for a multi-colour layered or washed approach, a good quality chalk paint is ideal – Annie Sloan is a personal favourite.

Clean and prepare
If the furniture piece has been sitting in the house it probably doesn’t need much cleaning, so skip this section.
However, if you’ve acquired the item from a charity shop or auction house then I’d recommend a thorough clean with soap and warm water; a kitchen sponge scrubber should get into the corners and crevices. Don’t forget to clean underneath the item, so you can remove cobwebs, dust and anything else that’s lurking. This is also a good time to check the piece over and see if it needs any repairs or filling. If the furniture piece has been in a kitchen or is in any way greasy, clean a second time to make sure it’s all gone.
If there are any hairline cracks in the veneer or dinks that are too large to sand out then you can fill them with wood filler. It’s easy to apply with a palette knife and once it’s dry you can easily sand it smooth.

If the piece of furniture has more than one drawer, use a pencil to lightly number them on the underside of the drawer so you know which drawer fits where. They may all look the same size but over time wood warps and each drawer will be a slightly different size.
Remove handles, drawer knobs and doors (if needed). You can clean metal handles and polish them with metal cleaner. If you’re after a matt finish, a fine sanding sponge is a quick way to clean and mattify. If you’re planning to replace the handles, now is the time to fill or drill the holes to fit them, then remove before painting.
If the surface is shiny or already painted, it will need sanding to key the surface and give the paint something to adhere to. You don’t need to strip it back to bare wood, just rough it up enough so the paint can stick. 120 grit sandpaper is usually enough, but if it’s a bumpy surface or has thick varnish then start with 80 grit and move to up to 120, if needed.
3. Tape it up
If you’re not painting inside a cabinet or along the edges of drawers then tape off the area to create a clean, sharp edge. To create a sharp line, painters masking tape is a must-have at this point; stick it in place and rub over with a clean dry cloth to make sure it’s stuck properly.
4. Prime it
To paint laminate the furniture, you will need to prime it for a quality, lasting finish. If you have any stains, knotty pine or oak then use a coat of water based Zinsser BIN Primer, particularly if you’re painting it in a pale colour. This stops the tannins or stain pulling through the paint.
5. Time to painting – finally

If you do the right prep, painting is super easy. I prefer a brush, but you can use a microfiber mini roller if you have large areas to cover. Use a good quality brush, it makes a big difference to get the finish achieved; there will be less hairs falling out, less brush marks and also a brush for your next project.
Most paints will require two coats, but if the furniture is going from a very dark colour to a white expect to do an additional coat. If you have any drips then sand between coats and allow a few hours for drying in between coats.
To stop the brush drying out and to eliminate the need to wash it in between coats, wrap the brush in cling film or an old plastic bag. Use kitchen foil to line your roller tray, it moulds perfectly to the tray and means that you can fold it up and bin it afterwards. No washing up required.
Keep a damp cloth to hand, this is great for wiping your hands clean and sorting out any drips. Use a small fine artist’s paintbrush to get into the hard to reach corners or for touching up parts that have been missed.
Most modern furniture paints are water based, so you don’t need any chemicals to clean the brush, just water. Dry the brush with the bristles pointing downwards to ensure all the water drains out, this reduces the chances of the metal rusting and extends its lifespan.
Protect

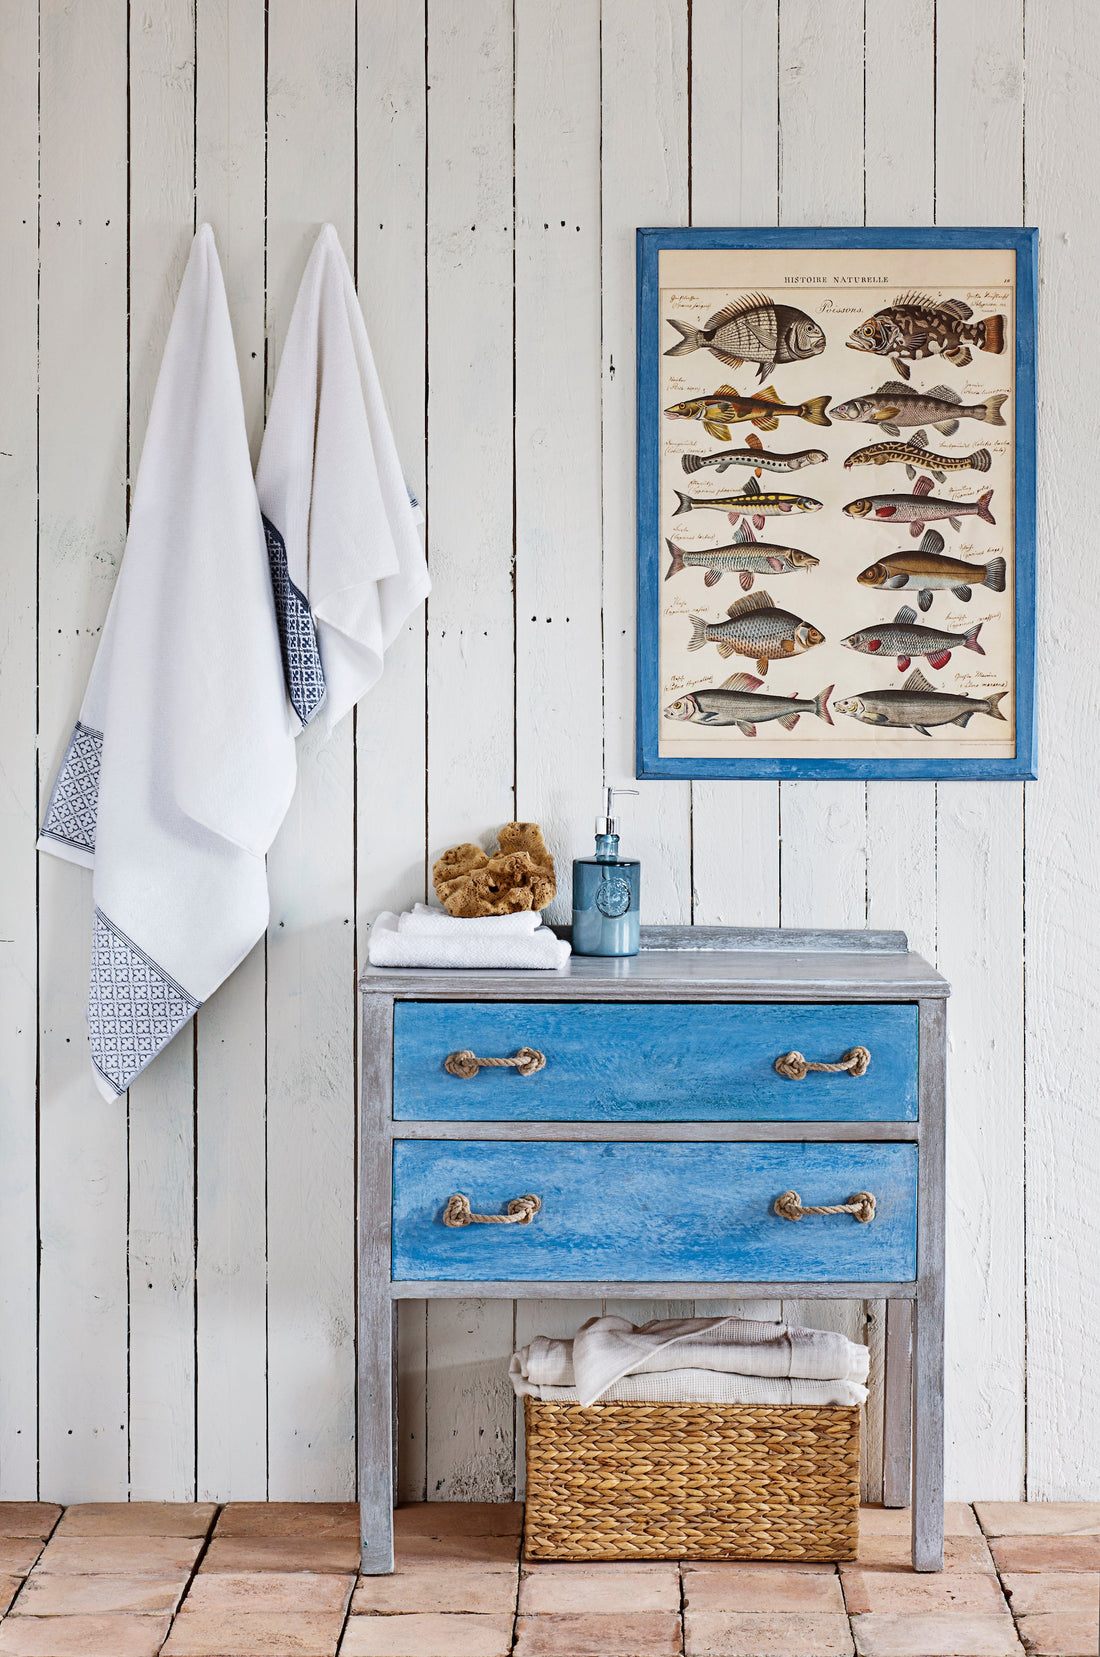
Image credit: Annie Sloan Interiors
Leave the paint to dry for at least 24 hours, then seal it. Some paints (like Fusion Mineral Paint) have a built-in top coat, but all chalk paint will need to be sealed with a wax or lacquer. Whatever type of paint is used, if the furniture is going to have a lot of wear, such as a table tops, dressing tables or bedside cabinets then add an additional layer of varnish for protection. After all of this effort, you’ll want it to last, with no chipping or peeling.
Reassemble
Now it’s time to reapply the handles, remove the masking tape and put the drawers back in.
Cure time
Paint, wax and varnish takes time to fully harden or cure, most are 14-21 days. In the meantime, place the furniture back into position and use it lightly. To avoid damage, make sure you’re gentle with it.
Stand back and admire
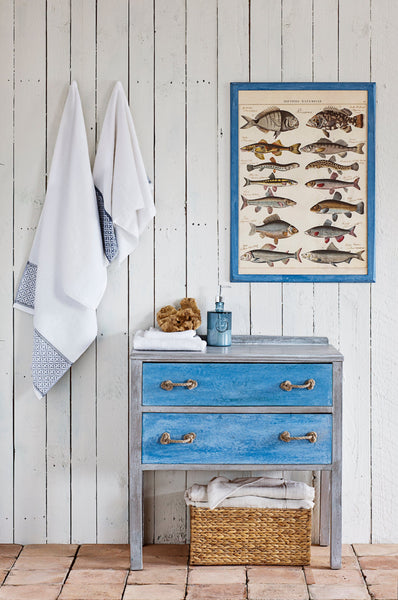
Image credit: Annie Sloan Interiors
Once you’ve finished painting, it’s time to stand back and admire your work. By painting your own furniture, you’ve created a unique, bespoke piece for your home; you’ve also saved money, and looked after the environment by upcycling instead of replacing.
Be warned, upcycling becomes quite addictive. Do not be surprised if you immediately look for the next project.
If you’ve enjoyed this blog you might also enjoy our interview with the Haines Collection, a company trying to fight waste in the interiors industry, or our top 10 upcycling ideas.


